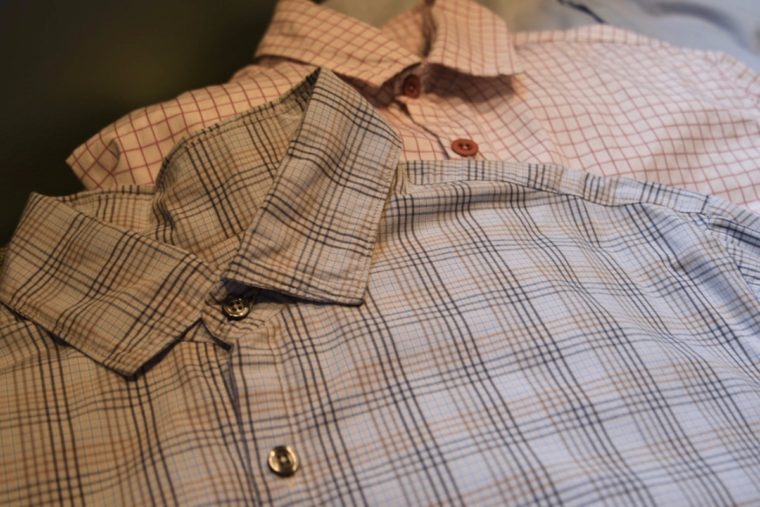
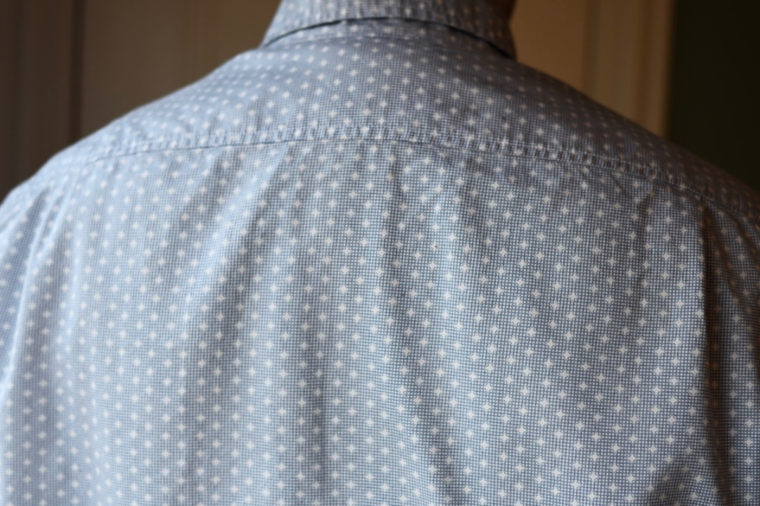
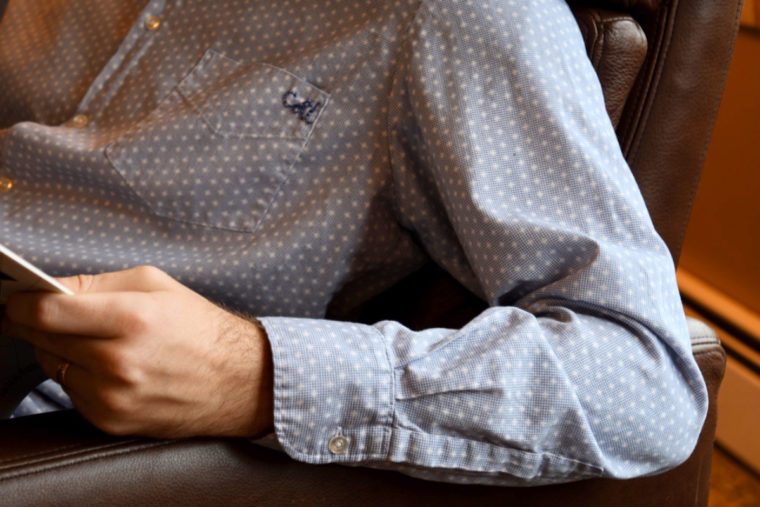
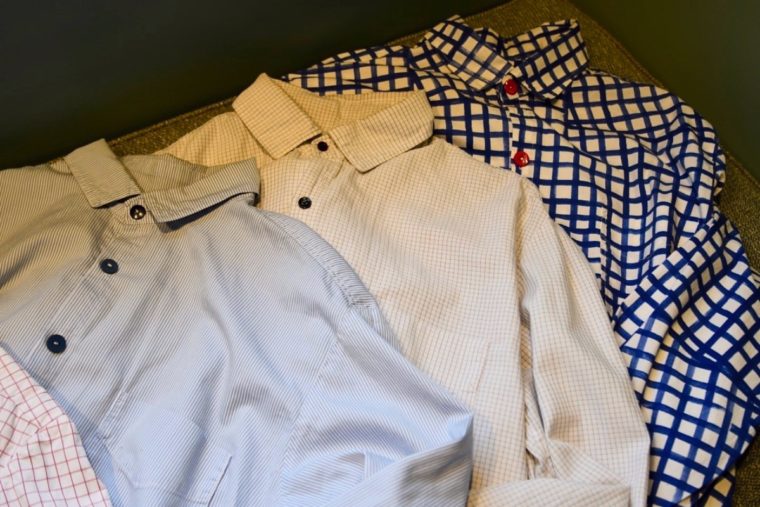
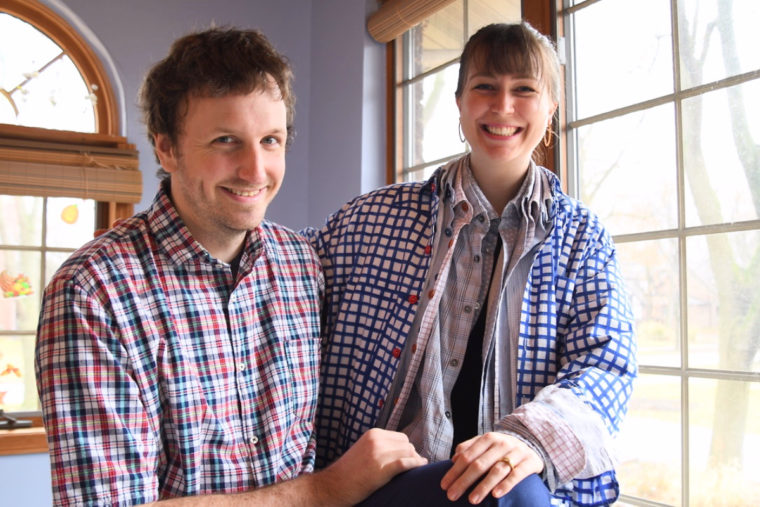
Nicole's husband is truly a fortunate man. She has crafted not just one or two, but eight All Day Shirts for him. Here she shares her experience and insights on making these shirts. Name: Nicole Where can we find you online? Blog, Instagram Project Details Link to your project: This pattern has become my go-to for men’s shirts! You can check out my collection here. Pattern used: Liesl + Co All Day Shirt (View A). Fabric used: These are all cotton men’s shirting fabrics sourced from Mood Fabrics in New York, and the short sleeve shirt fabric came from Fishman’s Fabrics in Chicago. Did the fabrics work well? I haven’t encountered any men’s shirting fabric yet that didn’t turn out beautifully into these shirts. How did the sewing go? This pattern holds a special place in my heart because it was the first pattern I ever purchased and used. Prior to this, I had been experimenting with sewing dresses for myself, but I wanted to create a shirt for my husband. I knew I needed detailed instructions and proper sizing guidance, so I bought this pattern during a work trip to Seattle at Drygoods Design. When I saw the difficulty rating was three out of four scissors, I thought, “Well, it’s not four scissors, so I’ll give it a shot!†Initially, when I opened the package, I was slightly overwhelmed by the complexity of the instructions. But after reading them twice, I felt much more confident about what I needed to do. Even though I was new to following patterns, I found the instructions extremely helpful and easy to follow. Over time, I’ve learned the importance of paying close attention to the notches when cutting out the pieces. If you align them properly while cutting, the final shirt will have neatly matched stripes or patterns. In total, I’ve made eight shirts: six long-sleeve versions, one short-sleeve modification, and one long-sleeve shirt that got ruined by a red pen that went through the laundry (RIP). I particularly enjoy making View A because it results in a classic dress shirt that looks fantastic. Below, I’ve outlined the key features of this pattern that I consider as I create each shirt. First up, we have the front pocket. The View A design includes a simple pocket, and I like to add my own little embroidered insignia in the corner. The back of this shirt is sleek with two small pleats. I always focus on matching the pattern at the seam between the yoke and the back panel. The plackets were definitely a new experience for me, and I’d recommend taking the time to iron each piece before sewing and don’t hesitate to pin! The instructions were incredibly clear, allowing even a beginner like me to navigate this step smoothly. You can also see my insignia on the pocket in this photo. I’ve also started finishing the edges with homemade bias tape instead of turning the hem. This allows me to use up some of my scraps, and I find the hem lays flatter this way. After tackling these details, it’s time to make more! And remember to put the buttonholes on the correct side—there might be a shirt in there with holes on both sides. I’m not telling which one! I absolutely love all the details in these shirts. The collar is very modern and looks great in so many prints. There’s also a unique collar stay feature that adds a professional touch. I’ve also modified the pattern for short sleeves. To shorten the sleeve, I measured my husband’s arm from the shoulder point to the desired length above the elbow and added 1/2 inch for seam allowance. Then I folded the pattern piece shorter before cutting and ensured the distance on either side of the underarm sleeve was equal on both sides. When the shirt is inside out, you can see that I finished it with French seams and bias trim at the sleeve hem. Shortening the sleeves and skipping the plackets and cuffs can cut the sewing time by about 30 percent. If your fabric is thin enough (like a cotton shirting), I highly recommend using French seams—they’re incredibly comfortable for the wearer. All in all, it’s such a joy to make these shirts, and you can keep sewing and sewing until you have an entire wardrobe! What was the best part? So far, being asked to write this piece is the highlight of my sewing journey for men’s wear. Thank you to all my family and friends for their encouragement along the way. All photos were taken by @sfenfoto. cotton gym sports travel towel suzhou bangneng textile co.,ltd , https://www.bangnengtowel.com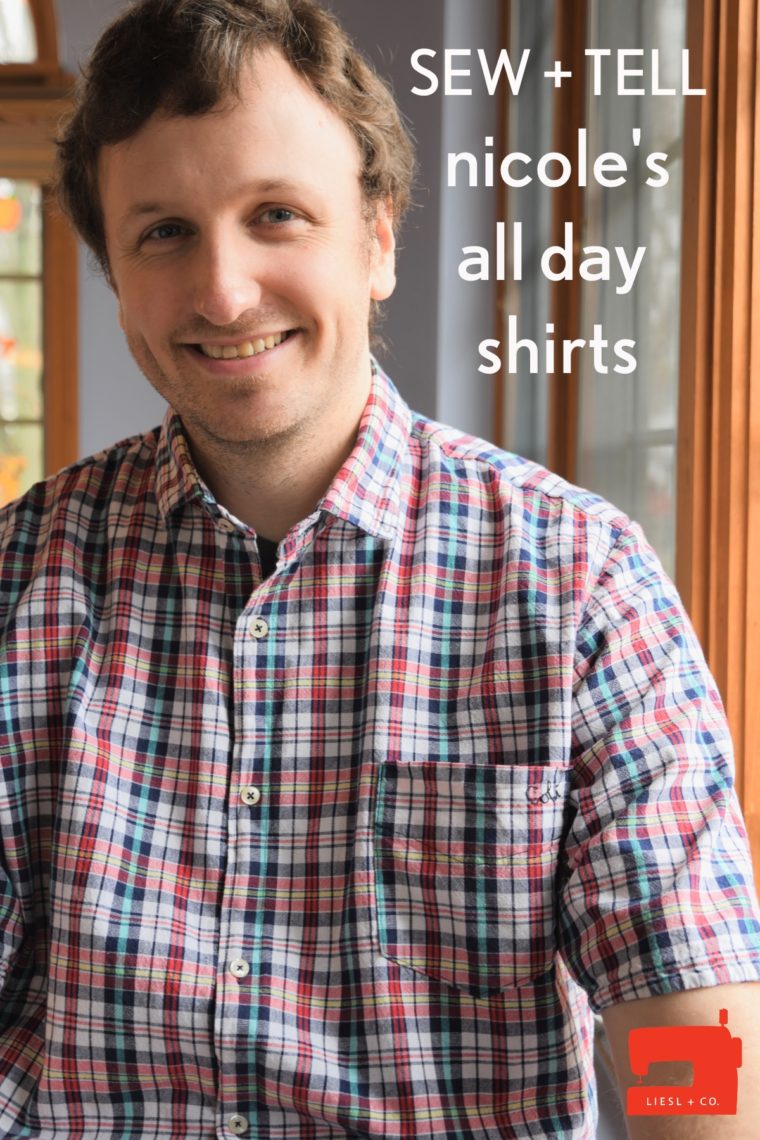

(adsbygoogle = window.adsbygoogle || []).push({});
Â